Building a mini monster truck isn’t just for kids—it’s an engaging project that appeals to small business owners, residential property owners, and mini truck enthusiasts alike. Have you ever thought about constructing a mini truck that combines fun with creativity? This guide will help you choose the right kit, assemble a sturdy chassis, and customize your creation for the ultimate experience. In each chapter, you’ll discover how the choices you make along the way will foster a better build, ensuring your mini monster truck is both functional and exciting. Let’s dive into transforming your vision into reality!
Choosing the Right Kit: How to Start Your Mini Monster Truck Build with Confidence
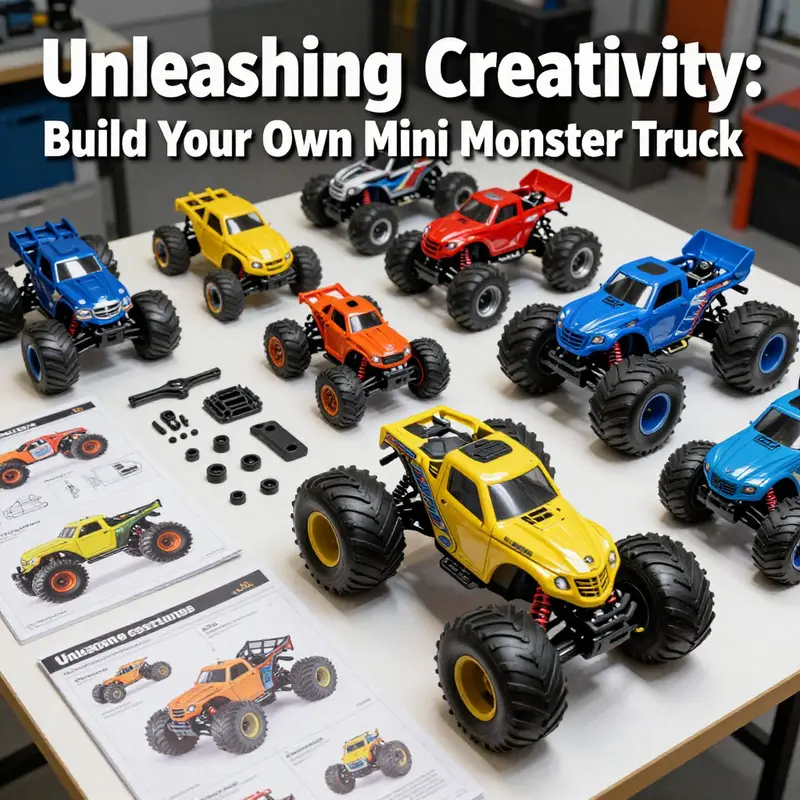
When you set out to build a mini monster truck, the first decision you face cascades into every choice you make afterward. The kit you pick determines how you learn, what you can upgrade, and how long you will stay excited about the project. A careful, thoughtful selection helps you align your goals with your hands, your workspace, and your growing understanding of how machines move. This chapter guides you through the yardstick you should use when evaluating options, not as a shopping list of features, but as a compass that points toward a build that fits your skill level, your interest in engineering, and your imagined end result. The spectrum of kits ranges from simple, non-powered craft sets designed for introductions to more sophisticated, motorized collections that mimic real off-road performance. If your aim is to explore basic construction and a surface understanding of how wheels, axles, and frames work together, you’ll favor kits that emphasize creativity and assembly without motors. These friction-powered options are gentle on small hands and provide a solid foundation in spatial reasoning and manual dexterity. They also offer a gentle onboarding into the language of engineering: joints, tolerances, and alignment. On the other end of the spectrum lie electric-powered kits with rechargeable batteries, drive systems, and sometimes remote controls. These options introduce a more authentic driving experience, with the thrill of acceleration, steering, and a sense of propulsion that mirrors real monster trucks. They demand more careful handling, more precise assembly, and a greater emphasis on electrical safety and maintenance. In between, there are many hybrids: kits that feature robust frames and suspension components but still rely on a manual cranking mechanism for some motion, or those that include realistic-looking engines and drivetrain layouts while keeping the build approachable through clear, step-by-step instructions. Your decision should begin with a simple question: what do you want to understand first about trucks, and what kind of joy do you seek from the process? If you find yourself drawn to the engineering storytelling—how a chassis transfers load, how suspension absorbs shock, how gears manage speed and torque—then the more advanced, powered options can become an ongoing, satisfying project rather than a one-off purchase. If, however, your priority is sharing a creative moment with younger builders or cultivating a calm, focused hands-on experience, a friction-powered kit can be the right doorway. Beyond the basic distinction of powered versus non-powered, consider the educational value of the kit. Some kits are designed with STEM concepts baked into the content. They invite you to observe weight distribution, analyze center of gravity, and consider how different materials influence stiffness and resilience. A well-made kit offers diagrams, troubleshooting tips, and a logical progression that invites experimentation: move a suspension arm a little, observe how the wheel travel changes, then refine the alignment to reduce bind in the drivetrain. If your goal includes more than just building a model—if you hope to understand the mechanics behind a monster truck’s performance—look for these signs in the product design. The manual should explain the underlying ideas in accessible language, and there should be optional challenges that push you to experiment with gear ratios or to simulate jump dynamics on cardboard ramps. The quality of the materials matters almost as much as the ideas they illustrate. Durable kits use reinforced frames, robust axles, and tires that grip different textures, not just smooth indoor floors. A sturdy chassis can handle the inevitable bumps as you test steering and suspension, while shock absorbers or resilient springs help the assembly survive off-table trials. If you want something that endures, check for a chassis design that resists flex, a suspension system that maintains toe and camber during rough movement, and wheels that spin freely without binding. In this sense, the kit becomes a small laboratory of physics, where you can observe equations in action as you push, twist, and balance components. The power source is a second pillar of decision. Friction-powered sets deliver motion from the energy you apply with your hands. They teach control without the complexities of wiring, batteries, or radio electronics. They can be a stepping stone toward more complex builds, because you learn to pace your motions, manage momentum, and anticipate how extra weight or a stiffer spring affects motion. Electric-powered kits, by contrast, introduce the realities of motors, batteries, and electronic speed controls. They demand careful planning for wiring, safe charging practices, and attention to heat as the motor works to move larger tires over uneven surfaces. When evaluating power options, consider your workspace. Do you have a safe, clean, dry area where batteries can be charged and stored away from curious hands? Do you have a small toolkit and a workspace that can stay organized as you disassemble and reassemble parts for performance tweaks? These practical questions often reveal what kind of kit will fit your life, not just your curiosity. The material story behind a kit also matters. Look for frames and components that use sturdy plastics or light metals with good tolerances. Cheaper kits often sacrifice fit and finish, which leads to misalignment and frustration. A well-made kit will present a frame that holds fasteners securely, joints that snap or screw together with minimal play, and a body shell that fits the chassis without needing excessive bending or forcing parts into place. This matters not only for the realism of the final look, but for the functional reliability of steering, suspension, and drive as you test the truck on varied terrain. In some builds, the suspension and chassis design are what give a mini monster truck its character. A timid kit with limited wheel travel will reveal itself when you attempt a ramp jump or a climb over a rough patch. A kit with real shock absorbers, adjustable arms, and a torsion or linkage-based suspension lets you tune stiffness, ride height, and wheel angle to maintain traction on carpet, gravel, or rough cardboard courses. If you intend to push the truck beyond smooth indoor floors, these design choices translate into stability and resilience. The steering system is another real game-changer. Some kits offer straightforward rack-and-pinion steering with simple linkages that make turning feel direct and predictable. Others may use more complex steering linkages and ball joints to replicate the feel of a full-size monster truck. The level of steering precision you want will influence your choice. For newcomers, a kit with intuitive alignment and limited play in the steering components reduces the risk of drifts and toe-out issues that can lead to clumsy handling. For more ambitious builders, a kit that allows you to adjust toe-in, camber, and steering geometry invites experimentation and deeper understanding of how small changes influence tire contact and control. When you read the manual and glance at the exploded views, you should feel that the assembly process teaches you something meaningful about how real trucks are assembled and operate. Some kits emphasize the aesthetic component—the body shell, decals, and surface finish—without compromising the mechanical base. Others prioritize authentic mechanical detail, offering engine representations, exposed drivetrains, and a sense of scale that makes the model look serious even as a toy. Both paths are valid; choosing between them depends on your personal joy: do you love the look of a replica or the tactile satisfaction of a well-tuned mechanism? As you weigh these attributes, it helps to imagine how you will use the kit after assembly. If the goal is frequent play, you may lean toward a kit that is robust and forgiving, with a drivetrain that can take some rough handling. If you want to build once and admire your work, a kit that emphasizes finish, paint, and decals may be more appealing, even if it requires careful handling during use. The value of a kit isn’t only in how it performs on day one but in what it enables you to learn over time. A solid kit becomes a platform for growth. You may begin with a friction-powered model and advance to a small electric version, then perhaps add a custom body or alter the suspension geometry to see how those changes affect performance. This is how a hobby evolves—from simple, satisfying puzzles to more complex systems that reveal the cause-and-effect relationships at the heart of vehicle design. In choosing, you should also consider the reliability of the manufacturer’s support and the availability of replacement parts. A kit that includes user-friendly replacement components and accessible spare parts is a practical choice. You don’t want to get stuck waiting for weeks for a tiny spring or a fragile hinge if you want to keep the build moving forward. Some builders value the community that grows around a kit, where troubleshooting tips, build logs, and performance tweaks are shared by others who are chasing similar goals. If you’re curious about the broader culture of mini monster trucks and want ideas for future projects, you can explore the broader world through the site’s own hub of ideas and experiences in the craft and hobby space. For a broad perspective and more project ideas, visit the Mini Trucks blog. the Mini Trucks blog. This resource can be a companion as you plan and execute your build, helping you see how different builders approach similar challenges and what they prioritize as they grow more confident in their hands-on skills. The choice of kit then becomes not merely a purchase but a strategic first step in a longer journey toward hands-on engineering and creative expression. After all, choosing the right kit is about selecting a doorway into a world where you can observe mechanical principles in action, practice patience, and celebrate small, tangible improvements with every turn of a screw. You’ll learn about balance when attaching a heavy body to a lighter chassis, about friction and resistance as tires grip different surfaces, and about the delicate interplay between speed, control, and stability. These insights are not only useful for a toy build; they mirror the broader lessons that carry into more advanced engineering projects and even classroom experiments. With attention to balance, quality materials, and thoughtful power choices, you can set yourself up for a build that is enjoyable today and expandable tomorrow. The goal is not to find the “perfect” kit in a vacuum, but to identify a kit that aligns with your current curiosity and your future curiosity. If you’re starting out, you might opt for a kit that emphasizes straightforward assembly and safe handling, with clear explanations and opportunities to learn by doing. If you’re stepping deeper into engineering, you may choose a package with more robust mechanics, a more realistic drive system, and the option to tune every element—from suspension stiffness to steering geometry. Either way, the best kit is the one that keeps you excited about testing ideas, refining mechanics, and bringing a little monster-truck personality to life through your own hands. As you close the decision, remember that this choice underpins the entire experience. It shapes how you learn, how you handle setbacks, and how you transform a collection of parts into a functioning, joyful machine. The process becomes a narrative of growth—one where you begin with simple steps, observe how components interact under load, and gradually push toward more sophisticated configurations that mirror the real engineering behind monster trucks. Keeping this vision in mind helps you choose wisely, invest your time efficiently, and enjoy the satisfying arc from concept to creature on four wheels. External guidance can complement your own research, offering broader perspectives and ideas you might not have considered in isolation. For broader guidance beyond this guide, an external resource can be found here: https://www.example.com/mini-monster-truck-kits.
Rugged Foundations: Mastering the Chassis and Suspension Assembly for a Mini Monster Truck
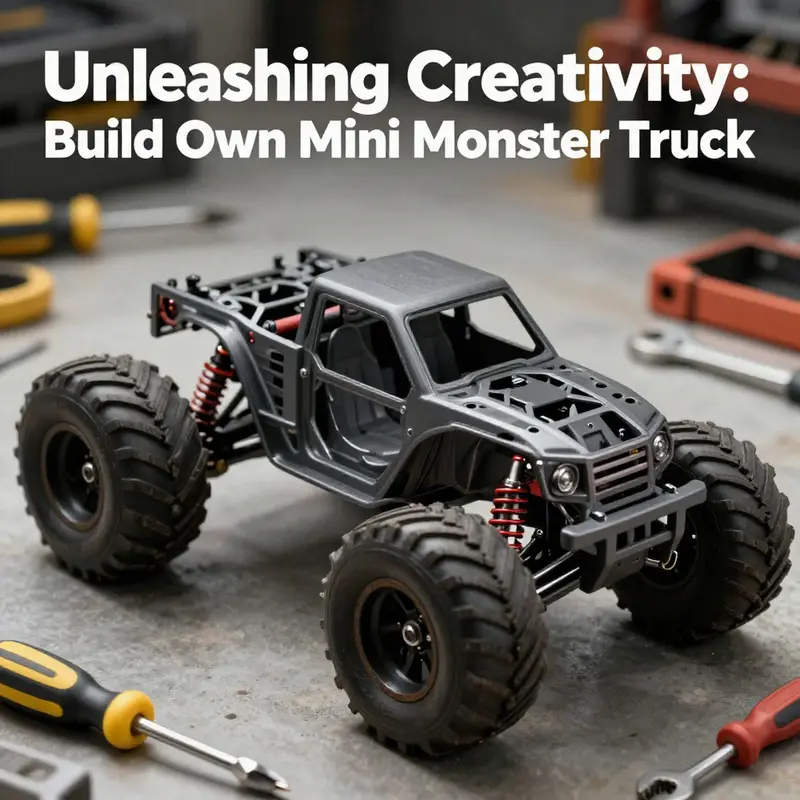
The chassis is the spine of a mini monster truck, and the suspension is its musculoskeletal system. When you’re building a compact off-road machine, every choice you make in the chassis layout and how the suspension interacts with the axles will echo in handling, durability, and the truck’s appetite for rough terrain. Start with the understanding that this isn’t merely a frame to bolt wheels onto; it’s a living architecture that must absorb landings, resist twisting, and keep the drive train aligned under load. With a well-prepared chassis and a thoughtfully tuned suspension, the model you see at rest becomes a capable predator when the surface gets uneven. The goal is to create a compact, robust system where geometry is predictable, parts fit with a minimum of friction, and the truck remains controllable whether it’s crawling over carpet debris or sailing over a small ramp. The process calls for meticulous layout, careful measurement, and a mindset that merges precision with a touch of engineering intuition.
Before you touch a screw, lay out every component on a clean, flat workspace. Visualize how the pieces will come together under load. The main chassis plate serves as the anchor, but you’ll also have shock absorbers, suspension arms, axles, wheels, and perhaps sway bars or spring modules depending on your kit. Aligning the parts in advance reduces the chance of later misalignment that can translate into binding, uneven tire wear, or a wobble that undermines control. Even with a straightforward kit, taking a minute to map the sequence in your mind saves ten minutes of disassembly later. You don’t need a lab bench to do this, just a smooth surface, a good overhead light, and a habit of checking each hole, slot, and mount for burrs or debris. A nick or a rough edge can introduce friction, which is the enemy of smooth motion when you finally test the truck.
Step one is to prepare the chassis. The main chassis plate is the skeleton that everything else attaches to, so begin by examining it closely. Align the chassis so you can see the pattern of mounting holes—holes that must line up precisely with the corresponding standoffs, spacers, and cross-members. If your kit includes a protective film or a thin inner layer, remove it carefully to avoid leaving adhesive particles that could attract dust or trap moisture. Then, verify that all mounting holes are clear and undamaged. A small burr at the edge of a hole can snag a screw or misalign a joint a few steps later. If you find any imperfection, address it now with a small, fine file or a light touch with a precision blade, then wipe away any metal shavings. The aim is a chassis that accepts fasteners without binding and where components can slide into position with just enough resistance to stay aligned without forcing the fit.
With the chassis prepared, you move to the heart of the suspension system: the shock absorbers. Even on a compact model, shocks perform the critical function of isolating the chassis from impacts and controlling how weight transfers during acceleration, braking, and rough terrain. The installation requires attention to symmetry and tension. Take the shock absorbers and identify the mounting holes or posts that will receive their shafts. Thread or clip the shafts through these designated holes, being mindful of the direction that each shock will face. A symmetric layout helps ensure that the truck’s response remains predictable whether you’re turning hard, landing a jump, or absorbing a curb-like obstacle. Tighten the securing nuts or clips so the shocks stay in place, but avoid over-tightening. Excessive tension can restrict the shocks’ ability to compress and rebound smoothly, which in turn will stiffen the ride and promote wheel hop as you explore uneven surfaces.
After the shocks are mounted, the suspension arms come next. These components are the links between the chassis and the axles; they form a bridge that translates vertical motion into controlled wheel movement. Attach each suspension arm to the chassis using the screws or pins provided in the kit. The goal here is for the arms to pivot freely without binding. As you fasten, pause to check for any binding that may cause stiffness at a corner, and test the arm’s travel by gently moving the wheel hub through its intended range. If you feel resistance, double-check that you haven’t overtightened a screw or pinched a link into place. The joints should rotate with a smooth, almost effortless motion. If you find any play that is excessive or a hinge that binds, address it early with a careful realignment or by adjusting the position of a spacer. Suspension geometry is delicate; a tiny misalignment can translate into large handling quirks when you’re airborne or navigating a rock-like obstacle.
With the arms in place, you’ll install the axles. The axles connect the suspension system to the wheels and are the lifelines that deliver drive torque to each corner. Slide the axles through the suspension arms, then secure them with washers and nuts, ensuring they’re tight enough to prevent slippage but not so tight that the wheel can’t rotate freely. A common source of trouble here is binding near the ends of the axles or uneven preload on the bearings. To avoid this, test the rotation by spinning each wheel by hand. If you notice any stiffness, inspect the bearing surfaces, the end caps, and the connection between the axle and the hub. Balancing the load across the front and rear is also important; while a mini monster truck doesn’t demand automotive-grade precision, an even distribution of weight helps with stability and traction. If your kit permits, install small spacers to center the axle within the suspension arm’s range of motion, ensuring the wheel sits perfectly perpendicular to the chassis. A slight toe-in or toe-out at the front can be adjusted later, but the initial alignment should be consistent across all four corners to avoid tugging the truck one way or the other as you drive.
Next comes the moment of mounting the wheels themselves. The wheels are the physical interface with the ground, and their alignment can make or break the vehicle’s off-road capability. Place the wheels onto the axles with care. Ensure the wheel bearings or bushings seat cleanly, and that the tires sit flush against the wheel rims. Spin each wheel to check for any wobble or binding. A tire that appears perfectly round on one side but not the other may indicate a misaligned hub or an assembly error in the wheel hub itself. Where possible, use the correct balance of spacers to prevent rubbing against the suspension arms or the chassis when the wheel spins. If your kit offers adjustable hub positions, set them to a middle-ground alignment first, then fine-tune after a test fit. When you test the wheels, do it on a flat surface so you can observe any tendency to drift or scrubbing that would indicate a misaligned axle or an out-of-plane wheel position.
A few kits include additional suspension components that can stabilize the chassis further and enhance on-road control while still accommodating rough terrain. Components such as sway bars, where provided, or spring modules are intended to resist body roll during sharp corners or rough landings. If your kit includes these features, install them in accordance with the instruction sheet, keeping in mind that they alter how the suspension responds to weight shifts. A sway bar can reduce lateral movement and improve steering predictability, but it can also slightly stiffen the ride. The balance is subtle: you want enough stability to prevent tipping during aggressive maneuvers, yet enough flex to absorb a crest or a jump without transmitting every impact straight into the chassis. The key is to integrate these components as part of the whole system rather than as a cosmetic add-on. If you’re unsure how much stiffness is appropriate, start with the base configuration and add components incrementally after a few test runs. A little experimentation goes a long way when you’re refining the behavior of a compact, high-contact vehicle like a mini monster truck.
Once the physical assembly is taking shape, the final aspect of the chassis and suspension is to return to a comprehensive final check. The objective is to confirm that every joint moves as intended and that the load path is clear of interference. Begin by compressing each shock absorber and allowing it to rebound to a resting position. You should observe smooth motion without any sudden binds or stiction. If a shock sticks at mid-stroke, inspect its mounting points and ensure there’s no pinched seal or misrouted line within the body of the shock. Next, confirm that the wheels spin freely with the vehicle resting on a level surface. Any wheel that binds, rubs against a brake plate, or fights gravity when you release it indicates a misalignment that must be corrected before the truck is driven. Then perform a quick track test on a safe surface—carpet, a smooth tile, or a low-friction ramp—to verify steering response, acceleration symmetry, and braking behavior. If the steering feels inconsistent, check the steering linkage for binding and ensure the front wheels track straight when the steering is centered. If the truck pulls to one side, re-check the toe settings and the orientation of the steering arms. In a well-tuned mini monster truck, the wheels should return to center cleanly after turning, and the suspension should absorb a small drop or bump without a violent reaction from the drivetrain.
The chapter on assembling the chassis and suspension is not just about fastening parts; it’s about cultivating a shared language with the parts themselves. You learn to listen to the way the components respond to pressure, weight, and motion. You become adept at recognizing the small sounds that indicate impending trouble—an exhale of metal as a screw seats too deeply, a squeak that whispers of misaligned arms, or a tiny rattle that signals a loose nut. This practice rewards patience. It rewards methodical tightening, measured testing, and a willingness to backtrack when a step proves to be a dead end. The process is as much about understanding how each piece contributes to the overall behavior as it is about assembling a model. The more you work through the steps, the more natural it becomes to anticipate how a change in one area—such as a stiffer spring or a slightly different axle placement—will ripple through the chassis. The more you understand, the quicker you can iterate toward a reliable, rugged, and forgiving platform that can handle the rough edges of backyard trails or indoor obstacle courses.
This unity between chassis and suspension, carefully assembled, is the bedrock of performance. A well-prepared chassis not only holds the truck together; it anchors the entire driving experience. It determines how the vehicle distributes weight during jumps, how it settles after a landing, and how it negotiates uneven ground without losing grip or control. The suspension then tunes that experience, offering enough travel to swallow obstacles while maintaining tire contact with the surface. Together, they create a platform that feels solid and responsive, a machine that begs to be pushed a little farther, explored a little more, and tuned again as your skills grow. As you move from the assembly bench to the testing ground, you’ll notice the difference a well-executed chassis and suspension make. The truck will sit taller with confidence, the wheels will bite into the surface with steadiness, and the overall motion will be smoother, more predictable, and more capable of absorbing the inevitable shocks of off-road play.
To keep the momentum from here, you can complement the hands-on work with guided visuals. For a practical visual reference, consult the Minitrucks Cala blog. It offers practical tips and community-tested approaches that echo the steps you’ve followed in your own workshop. While you shouldn’t rely on a single source for every decision, seeing real-world examples can illuminate the subtle details that make a real difference on the bench and on the track. The balance between reading and building, planning and executing, is where your understanding deepens. Remember that every model offers a chance to refine technique, learn from minor missteps, and develop a more intuitive sense of how components fit and move together.
As you wrap this chapter and prepare for the next, keep safety and patience at the center of your approach. Small errors at this stage can cascade into bigger problems later on, especially when you push the truck toward rough terrain or high-speed runs. Always verify clearance around moving parts, ensure wires are neatly organized away from any rotating components, and confirm that your battery compartment or power system is secure and properly insulated. The chassis and suspension are the stage on which every subsequent system—power, steering, and control—will perform. Set a solid foundation and the rest of the build will respond with reliability and predictability. The road ahead may include fine-tuning the ride height, tweaking the steering geometry, or experimenting with different shock oils and spring rates. Each adjustment offers a new dimension of handling and performance, a chance to tailor the mini monster truck to your playing field and your style of driving.
In the end, assembling the chassis and suspension is more than a mechanical task. It is a rite of passage into the craft of mini off-road engineering. You transform a handful of parts into a coordinated system that can bend the world of carpet and wood, turning ordinary surfaces into little white-knuckle adventures. The satisfaction comes not only from seeing the finished product but from knowing you earned it with deliberate, thoughtful work. The wheelsets, the arms, the shocks, and the frame work in concert to deliver a vehicle that can carry you into a landscape of your own making—one that rewards careful planning, precise alignment, and a spirit of curiosity about how things move and how small changes can yield big improvements. The chassis is more than metal and plastic; it is the promise of control in a world that likes to toss components into the air, a promise you honor each time you compress a shock, watch a wheel spin freely, and feel the chassis settle into balance after a bold leap. This is how you build not just a toy, but a dependable, engaging platform for hours of creative, hands-on exploration.
External reference for deeper technical insight: External chassis and suspension guidance.
Fine-Tuning After Build: Customizing and Testing Your Mini Monster Truck for Real-World Off-Road Play
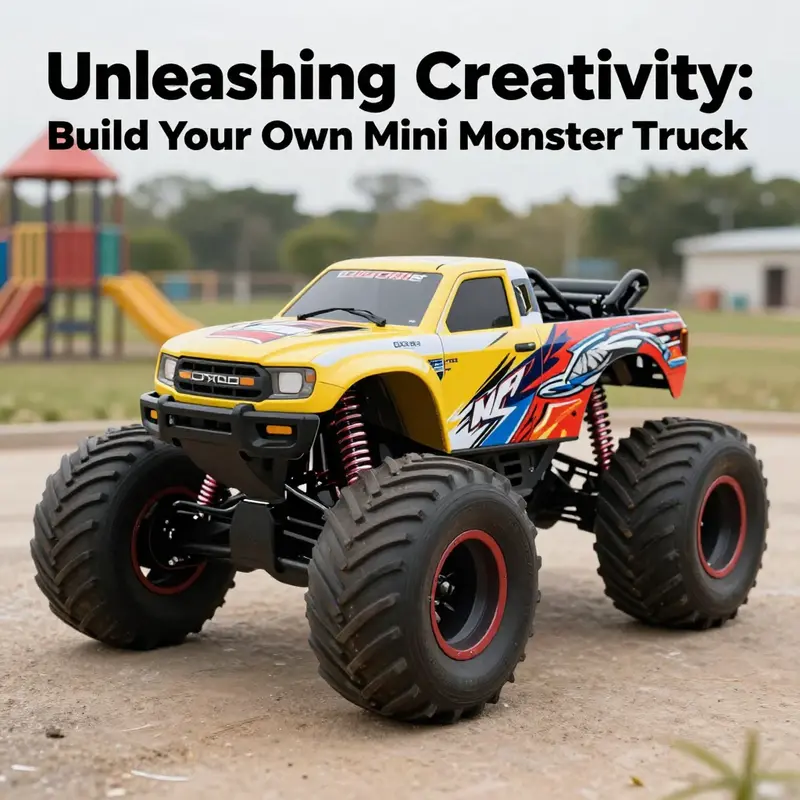
The moment the last screw is snug and the body shell finally clicks into place, a second job begins to take shape: customization. It isn’t vanity; it’s the practical art of shaping a machine to your hands, your terrain, and your style. Customization turns a basic build into a personal tool for exploration, resilience, and play. It’s also where many builders learn what their truck can and cannot do. As you plan your tweaks, keep two questions at the forefront: How will this change affect handling and durability? And how will the change translate into more enjoyable, longer sessions outdoors or on mock obstacle courses at home? The answers begin with paint and decals, then move into components that alter how the truck feels in motion and how it survives the bumps of off-road testing. Paint adds personality, but decals and finishes can also protect fragile surfaces from sun and abrasion, and even guide you toward lighter, more durable materials. For many builders, the first customization step is color and style. You might choose bold flames, a stealth black finish, or a pale, rugged camo that helps your truck blend into a gravel driveway or a sand ramp. Acrylic paints work well on plastic shells, while spray paints deliver broad coverage for larger panels. If you’re building a kit that resembles a classic monster-truck silhouette, you may want to emphasize the fender arches and oversized tires first, since those elements influence the truck’s visual balance and perceived mass. In any case, plan a color scheme that won’t fade quickly under daylight exposure. Consider UV-resistant vinyl decals that resist cracking and color loss after repeated sun exposure. The aesthetic choices you make do more than decorate the truck; they help you quickly spot problems. A mismatched color on a joint or a misplaced stripe near a hinge can cue you to re-check a section before it becomes a failure point in a jump or ramp test. As with any build, the best customization begins with a plan and a steady hand. The chassis and body work can be unified by a consistent design language—whether you lean toward a retro racer vibe, an urban assault look, or a cartoonish, high-contrast theme that makes every maneuver legible from a distance. A steady design language also helps when you start adding accessories. Custom parts are where many builders taste the difference between a pleasant model and a vehicle that feels alive under your control. Working headlights, even small LEDs tucked behind the shell, breathe nocturnal life into your truck and reveal the geometry of its frame as you drive across dim carpet or dark carpeted ramps. Small interior details, like a tiny dashboard or a pair of seats visible through an open window, can make the vehicle feel like a real miniature. If your kit supports removable panels or opening hoods, a simple hinge modification can add a layer of interactivity that rewards careful handling. When you step into accessories, you can begin to balance functionality with aesthetics. A miniature roll bar, a lightweight spoiler, or a functional towing hitch can be attached without adding significant weight. If you’re chasing realism, you might install a few practical features that do more than look convincing. For instance, an LED headlight setup requires careful routing of wires and a compact battery source that won’t shift around the chassis during jumps. This is a common tension in customization: extra lighting or screens can improve the illusion of durability, but every added gram changes the suspension’s load and the wheel’s stance. If you want to push for more performance, you’ll soon consider upgrading some core components. Tires are the most obvious upgrade for grip and stability on rough terrain. A higher-traction rubber or a slightly wider tire can improve your truck’s ability to bite into grass, gravel, or carpet obstacles. Heavier tires, however, demand more torque from the motor and can influence the rate at which your suspension compresses. The tire choice should align with your intended terrain and the motor’s power. Lightweight, high-grip tires work well for controlled ramps and carpet jumps, while more robust compounds help you tackle outdoor gravel or grass under load. Speaking of load, suspension tuning is the other major lever in customization. A stiffer setup reduces wheel hop on aggressive landings but can rob you of the ability to absorb smaller bumps. A softer setup improves comfort, yet might let the chassis bottom out on very hard landings or steep descents. For many builders, the best approach is incremental: adjust one axis at a time—spring rate, damper damping, or arm length—and test in a controlled sequence to observe the impact. If your kit uses a modular suspension, you can swap arms or shock absorbers as a straightforward upgrade without restructuring the entire drivetrain. In addition to handling, a reliable powertrain remains essential to a satisfying build. If you’re working with a battery-powered model and you’ve already installed a standard motor, you may explore higher-capacity batteries in a way that doesn’t overtax the weight balance. LiPo batteries, when used with respect for safety, can deliver more sustained current and longer run times, but they require careful wiring and secure battery compartments. The capacity and discharge rate must align with the motor and the gearbox to avoid overheating or voltage sag. When tweaking power, think about balance as a system property, not a single component. A heavier motor can be paired with lighter tires and a stiffer spring to keep the truck from “belly flopping” on jumps. Conversely, a lighter motor benefits from broader tires and a slightly softer suspension to maintain traction. It’s a careful dance between acceleration, braking, and steering. Steering geometry is another subtle yet consequential area for customization. If your kit includes adjustable toe or camber, small changes can significantly affect the truck’s turning radius and straight-line stability. A slight toe-in can stabilize tracking on rough surfaces and improve straight-line speed, while toe-out may sharpen responsiveness around tight corners. But be mindful: too much toe can cause tire wear, wobble, or scrub on turns, especially as the suspension articulates over obstacles. If your build has a front steering linkage, ensure it remains properly aligned after modifications. Misalignment can not only degrade steering precision but also strain the drive train and create unstable behavior during jumps. Once aesthetics and performance components are aligned, the moment comes to test, and testing is where customization earns its keep. A well-planned test routine reveals the effect of your modifications and shows where further tuning is needed. Begin with a basic functionality check on a smooth, familiar surface. Power the truck and observe steering response, acceleration, braking, and the smoothness of the suspension’s travel. Listen for any new creaks, rattles, or binding noises. Wobbles indicate loose joints, improper wheel alignment, or a clearance issue between the body and moving parts. If something doesn’t move freely, pause to identify the obstruction and correct it before continuing. A calm, methodical approach here saves you from chasing elusive issues later in more dynamic tests. With the basic checks complete, move to terrain challenges that resemble real use. Carpet provides a forgiving yet telling test bed. It will reveal wheel grip, steering precision, and how the suspension handles small bumps. A rougher surface—like a sandbox or a paver area—helps you gauge the truck’s capacity to absorb irregularities and maintain control. If you have access to ramps, incorporate small jumps into your routine. Observe how the truck lands and how weight shifts momentarily during takeoff and landing. The goal is not to jump the highest but to land predictably without losing traction or snapping a part. Watch for rear-end or front-end dips that suggest a need to adjust suspension stiffness or ballast. Durability testing often reveals hidden weak points in the chassis, joints, or wheel mounts. In this phase, apply deliberate stress: run through repeated transitions from acceleration to braking, execute rapid direction changes, and perform a handful of controlled climbs and descents. You’ll be listening for looseness, seeing if joints loosen under repeated loads, and noting any heat buildup in motors or gears. Where you detect stress, reinforce. A dab of adhesive in critical joints, small brackets to support mounting points, or a slightly different screw pattern can dramatically increase the truck’s endurance. If the build is RC-based, electronics testing becomes an ongoing process of verification. Range tests verify that the controller maintains a solid connection over the expected distance. Battery life tests reveal real-world run time under your typical driving style. Servo responsiveness is checked by commanding precise steering inputs and observing how quickly the wheels respond. If a servo shows lag or jitter, inspect wiring, connectors, and mounting stability. Clean, solid wiring prevents pinched cables or shorts during aggressive moves. The beauty of testing is that it is iterative. You’ll learn which changes translate into meaningful improvements and which alterations had minimal effect or introduced unintended consequences. Keeping a simple notebook helps you map each modification to its observed impact. Document the exact tire type, spring rate, or motor setting you used, and pair that with a brief note on the resulting behavior. This habit keeps future tweaks efficient and prevents repeating trials that yielded little benefit. In this spirit of methodical refinement, you may reach a point where further cosmetic changes become less about function and more about identity. A truck that looks like it means business tends to behave with greater confidence in its own capabilities, and that confidence can translate into more controlled, focused driving. When you share your process, you’ll probably discover new ideas from the community as well. For builders who want a framework that echoes broader creative work, consider looking at parallel projects that emphasize customization and testing, such as the customization approaches described in the linked project guide. Godzilla truck camper customization offers a vivid reminder that even within a curated kit, the path from stock to distinctive is paved with patient adjustments, careful testing, and a willingness to iterate. This kind of cross-pollination—borrowing ideas from other builds while maintaining your own design language—helps you avoid tunnel vision and encourages experimentation. Keeping an eye on balance between form and function helps ensure the final product remains robust, safe, and entertaining. In the end, customization is a journey rather than a single moment. It grows with your skill, your environment, and your ambition. The same truck that started as a simple, straight-forward kit can become a test bed for new materials, ideas about suspension geometry, or even creative body modifications. Testing is the companion that validates those ideas, telling you when a concept is real and when it remains a pleasant fantasy. And as your project evolves, remember to stay mindful of safety. Secure mounting, proper wire management, and a stable power system are not luxuries but necessities, especially when you push a miniature machine toward the edge of its capabilities. If you ever doubt the value of a cautious approach, recall the early stages of your build when every component needed alignment and every joint required a precise fit. The chemistry of a good build is simple: plan, build, customize, test, adjust, and repeat. The more you practice that cycle, the more you’ll understand how your choice of tires, suspension, and electronics translates into ride quality, durability, and the satisfaction of a well-tuned machine. When you finally take your finished, customized truck onto a fair test course with real obstacles, you’ll see your decisions pay off. A lighter, grippier tire might keep you moving through a rough patch with less wheel hop, while a stable, tuned steering setup keeps you precisely in control during a sharp turn on a sloped surface. The experience of testing will confirm whether your aesthetic choices align with practical performance. It will reveal the comfort of your body’s paint and decals under use and show how the shell holds up to the occasional scrape and bounce. It will also tell you when a future upgrade—like a more robust motor, a higher torque servo for steering, or a redesigned chassis brace—will push the truck toward a more satisfying long-term operation. If you’re moving from a purely cosmetic project into a performance-oriented one, consider documenting the project in a blog or a simple build log. Sharing your insights invites feedback from other builders and helps you map out the next phase of upgrades with clearer goals. For a broader perspective on how customization and testing can shape a high-performance mini monster truck, the linked guide above can serve as an inspirational companion. As you progress, you’ll find that the journey itself is part of the reward, shaping not only a model that performs well but a maker who understands how to listen to their machine and respond with intention. If you want to explore more ideas about customization, you can also explore related content in the project’s broader community hub, where builders exchange notes about chassis modifications, lighting, and weight distribution strategies. And when you’re ready to add a high-intensity demonstration of a comparable build in action, this external video offers a vivid window into what a well-tuned, high-performance mini monster truck looks like under load, including jumps, hills, and durability checks. https://www.youtube.com/watch?v=9vY8Qc7r5tI
Final thoughts
Creating your own mini monster truck is not just an enjoyable hobby—it’s a fantastic way to channel creativity, learn mechanical skills, and connect with others who share your passion. Whether you’re a small business owner looking to attract local customers or a residential property owner wanting a fun project, building a mini monster truck can provide satisfaction and a sense of accomplishment. As you embark on this journey, remember to embrace the process, keep experimenting with customizations, and enjoy the thrill of testing your creation. You’re not just building a truck; you’re igniting your imagination.