Building a mini trophy truck opens up a world of creativity and technical skills, appealing to local small business owners, residential property owners, and avid mini truck enthusiasts. Whether you want to engage kids in an exciting project or showcase your passion for vehicles, this guide is designed for you. In the upcoming chapters, we will explore various methods, from choosing your building approach to a detailed step-by-step LEGO building guide, and finally, creating your truck using recycled materials. Get ready to roll up your sleeves and embark on a fun journey of truck building!
Build Smart: Picking the Best Method for Your Mini Trophy Truck
Choosing the right way to build a mini trophy truck shapes every other decision you make. Your method determines tools, time, cost, durability, complexity, and the kind of satisfaction you get at the finish line. Some builders want a display piece that looks convincing. Others want a drivable remote-controlled machine. Families want a fun afternoon project for kids. Workshops want a skilled fabrication challenge that mirrors the engineering of full-size off-road rigs. This chapter walks through the practical trade-offs and concrete steps behind the most common approaches. It helps you match your goals to a method so your next move is clear and confident.
Start by picturing what success looks like for you. Do you want working suspension and power, or a durable model for play and display? Do you need something quick and cheap, or do you plan to invest in machining, welding, and custom electronics? Answer those questions before you buy materials or commit a weekend. The remainder of this text assumes a range of outcomes and explains how each building path meets different aims.
Brick-based building is the most accessible route. Using interlocking bricks and plates keeps mistakes reversible. It is ideal for learning proportions, experimenting with body lines, and producing a durable model that holds up to handling. A brick build gives you instant feedback: swap a wider wheelbase, lower a roofline, or widen fenders in minutes. For families and classrooms, it is a low-risk, high-reward choice. Brick components give strong visual cues to the aggressive stance and wide track that define a trophy truck. Use long chassis plates, reinforced bricks to mimic a roll cage, and sloped elements to form a cab. Transparent pieces create windshields without glue. Wheels with off-road tread and large-diameter rims sell the look. Bricks also let you add playful details like number plates, bull bars, and simulated shocks.
The main limitations are scale fidelity and functional realism. Brick dimensions are discrete, so exact proportions can be tricky. If you want a faithful scale replica or a weight-saving shell for an RC platform, bricks may be bulky. They can still work as the body shell on an RC chassis, provided you design mounting points and consider balance. Brick builds also tend to be heavier than equivalent lightweight plastics. Despite these limits, a brick route is unmatched for speed, accessibility, and creative iteration.
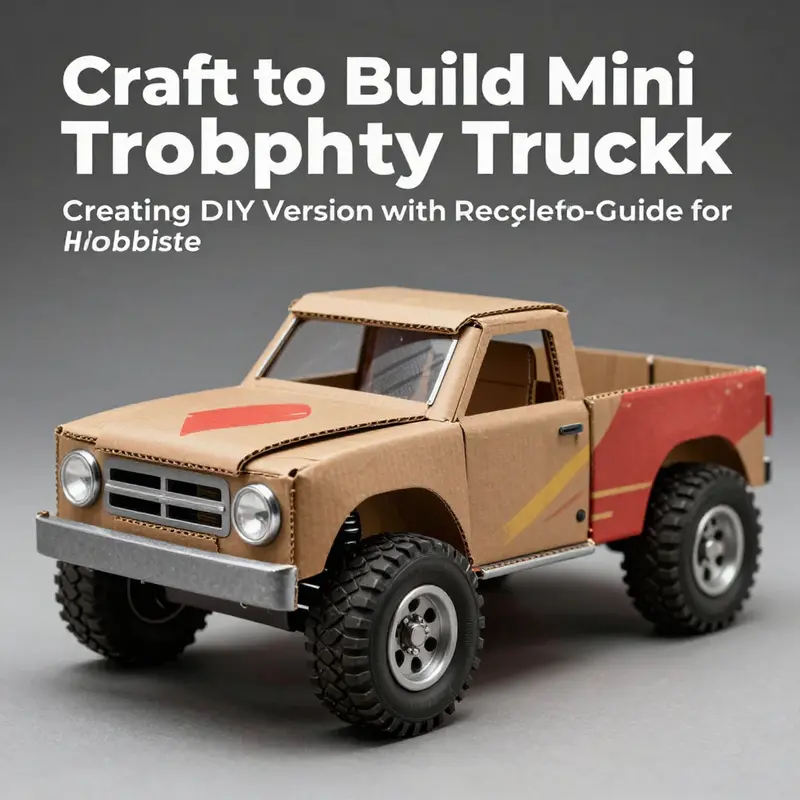
Cardboard, foam board, and recycled-material builds belong to the imaginative DIY category. This approach shines when budget and sustainability matter. A box becomes a dramatic chassis with the right cuts and reinforcements. Use corrugated cardboard for structure, layered foam board for smooth panels, and scrap plastic for details. Dowels, wooden skewers, or metal rods act as axles. Repurposed wheels from old toys or hardware-store caster wheels get you rolling fast.
This method rewards cleverness more than precision. You can salvage parts, paint boldly, and add handcrafted fixtures like bottle-cap headlights, straw exhaust pipes, and fabric seats. For a child’s school project or an eco-conscious craft, this is perfect. Keep in mind that purely cardboard constructions won’t survive rough play or outdoor exposure. Reinforce high-stress points with hot glue, tape, or thin plywood plates. If you aim for a more robust result, combine cardboard panels with a simple wooden subframe.
For a detailed step-by-step approach to turning a box into a sturdy drivable mock-up, refer to an online instructional guide that breaks down cutting patterns and fastening techniques: https://www.instructables.com/How-to-Build-a-Fun-and-Sturdy-Car-Using-a-Box/
If realism and performance are your goals, custom fabrication and small-batch manufacturing are the next level. This path suits experienced hobbyists and enthusiasts who can work with metal, composites, and precision parts. Start by planning a modular chassis that mimics the long-travel suspension geometry of full-size trophy trucks. Use tubular steel or aluminum for the main rails and triangulated cross members. Pick a compact motor and drivetrain combination that fits your scale. For radio control, choose a brushless motor and an electronic speed controller sized for your chosen battery pack.
Custom fabrication requires access to tools and skills. You may need a bandsaw, MIG or TIG welder, drill press, and a basic mill or lathe. If you do not own these tools, consider partnering with a local maker space or a machine shop. Outsourcing some components, such as CNC-cut body panels or 3D-printed mounts, speeds progress and improves repeatability. The payoff here is a model that handles like a small-scale race truck, with accurate suspension travel, robust chassis, and finely tuned center of gravity.
When choosing custom fabrication, plan for testing and iteration. Expect to prototype mounts and linkages in inexpensive materials before committing to metal. Use adjustable shock mounts and pickup points so you can tune ride height and damping. A carefully considered battery placement will make a dramatic difference to handling. Think about serviceability: design the body to remove quickly so you can reach batteries, electronics, and drivetrain for repairs.
Remote-controlled (RC) builds sit between practical realism and hobby-grade challenge. An RC mini trophy truck offers rolling dynamics that bring the concept to life. You can pursue a kit or a scratch-built RC chassis. A kit reduces the friction of sourcing matching parts and gives you a tested platform. A scratch RC build lets you pick components: motor type, ESC, battery chemistry, servo torque, and shock specifications. Tires matter tremendously; off-road tread and foam inserts tune traction and compliance.
Integration is where many RC builders stumble. Body mounting, wiring, and balancing often require careful planning. Place the receiver antenna where it avoids interference from metal structures. Route wires cleanly and secure them to prevent snagging. Choose a battery pack that matches your motor and ESC; oversized packs add run time but shift weight. Use sealed electronics if you expect to run in dust or damp conditions. Finally, break in the drivetrain gently to seat gears and bearings before stressing the vehicle.
If software or digital creation is your interest, building in a sandbox video game provides a risk-free way to test visual designs and proportions. Block-based game engines let you explore forms, color schemes, and lighting at any scale. While these virtual builds lack the tactile lessons of machining or painting, they help you iterate shapes quickly. Use glass panes or transparent blocks for windows and glow elements to simulate lighting. Export inspiration from these builds into your physical project by capturing screenshots and reference angles.
Model kits and static display builds are a practical compromise for builders who want a convincing miniature without the electronics and fabrication overhead. These kits provide pre-cut parts and instructions. They emphasize fit and finish over function. With careful painting, weathering, and decals, a kit can achieve museum-level realism. Model builders often invest in aftermarket parts like photo-etched metal, custom decals, and aftermarket tires to push realism further.
Whether you pick a kit or start from raw stock, three common threads run across successful builds. First, simplify early. Block out the chassis and proportion first. Second, plan mounting and service access. Third, document your process so you can reproduce or fix what you build.
Cost is another crucial filter when selecting a method. Brick and recycled-material builds are the most economical. A modest brick collection or a pile of recycled parts gets you a credible trophy truck without breaking the bank. Kits and entry-level RC options cost more, but they reduce the complexity of sourcing compatible parts. Custom fabrication is the most expensive. Factor in tooling, raw materials, and potential outsourcing for machining or molding.
Time is related to cost. A simple brick model or cardboard craft can be finished in a few hours. An RC kit takes days or weeks, depending on finishing and tuning. Fabrication projects can take months of planning, prototyping, and trial runs. If you need the model by a specific date, like an event or holiday, choose a method that fits your schedule.
Skill development matters too. Brick builds and recycled crafts are forgiving learning environments. Kits teach assembly discipline and finishing techniques. RC and fabrication grow skill in electronics, mechanical systems, and materials science. Choose the path that helps you develop the exact skills you want, not just the result you want.
A useful decision matrix balances five axes: cost, time, durability, realism, and required skill. Rank each method on those axes to spot clear winners. For example, brick builds score high on time and ease, moderate on durability, and low on realism. Custom fabrication scores high on realism and durability, but low on time and cost-efficiency.
No matter which path you select, certain design principles remain universal. Emphasize a wide track, short overhangs, and large wheels to capture the trophy truck aesthetic. Keep mass low and centered for better handling in RC builds. Design panels and fasteners so the body can be removed quickly for repairs. Use reference images from real trucks to study proportion, but adapt those cues to your scale. Long-travel suspension looks dramatic in miniature. Even if you cannot replicate full shock travel, exaggerating wheel movement gives the model an aggressive, race-ready stance.
Materials and adhesives deserve a few practical notes. For brick-based builds, stay away from solvents and avoid permanent glue unless you intend to lock the build. For cardboard and foam board, hot glue and PVA glue work well. For plastics and composites, consider solvent welds or two-part epoxies for strength. In metal work, brazing or welding provides the best strength for high-load components. When attaching electronics, use heat-shrink tubing and secure connectors.
Finishing separates a good model from a great one. Paint, decals, and weathering give personality. Use masking tape and thin coats for even coverage. For realistic dirt and grime, dry brushing and washes add depth. For families, stickers and bold color blocks achieve a striking look with minimal effort. Add small details such as light bars, spare tires, and simulated roll cages to increase visual fidelity.
Documentation improves future builds. Take photos at each stage and record measurements. Keep a small notebook with part sources, torques, and wiring diagrams. If a component fails, you will thank yourself for detailed notes. Share your build online or in a local club to get feedback. Collaboration accelerates learning and can turn a solo project into a rewarding group experience. For additional reading and community ideas, check out the Mini Truck SoCal blog for related project stories and inspiration: https://minitrucksocala.com/blog/
Choosing a method is not final. You can start with a simple brick or cardboard prototype and graduate to an RC rig or fabricated chassis later. Use early builds as testbeds for proportions, balance, and aesthetic choices. This staged approach reduces risk, spreads cost over time, and builds confidence.
Match method to motive. If your priority is a playful weekend activity for kids, choose bricks or recycled materials. If your aim is a photo-perfect display, a static model kit will delight. If you crave realism, handling, and engineering challenge, opt for custom fabrication or a serious RC build. Whichever path you choose, plan before you buy, prototype before you commit, and design for serviceability. Those habits will make your mini trophy truck a lasting source of pride and learning.
For a stepwise guide on turning simple boxes into sturdy mock-ups, see the step-by-step instructions linked earlier: https://www.instructables.com/How-to-Build-a-Fun-and-Sturdy-Car-Using-a-Box/
Brick‑Built Mini Trophy Truck: A Step‑by‑Step Block System Guide for Mini Truck Builders
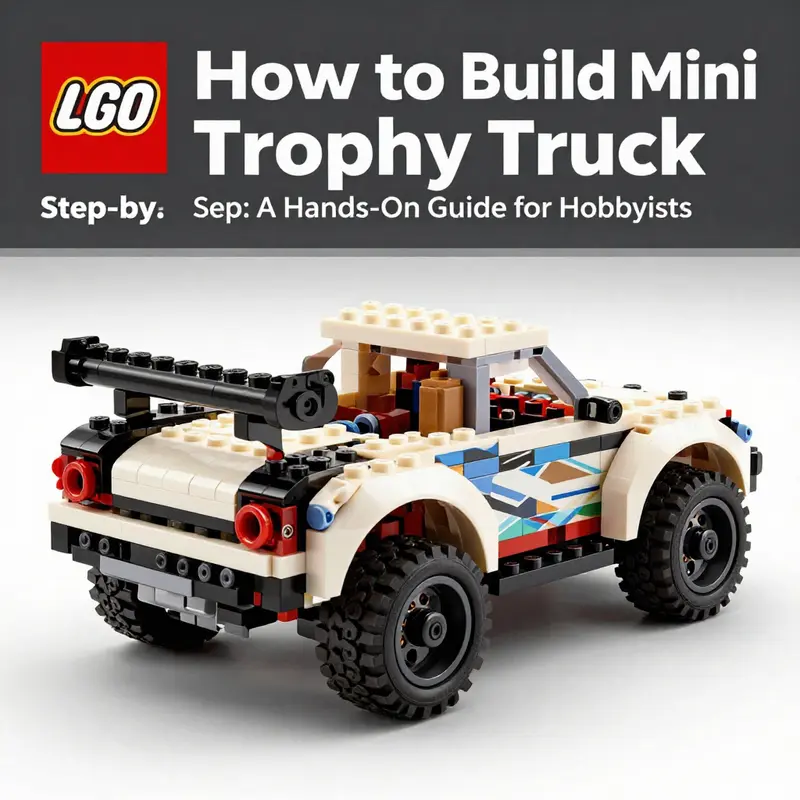
Brick‑Built Mini Trophy Truck: A Step‑by‑Step Block System Guide for Mini Truck Builders
Building a convincing mini trophy truck from interlocking bricks is mostly about proportions, structure, and a few well‑chosen details. This chapter walks you through a thoughtful, practical approach that balances stability and style. It treats the project as a scaled design challenge. You will learn how to plan, sort parts, assemble a strong chassis, form a rugged cab, craft a shallow bed, add wide wheels, and finish with functional touches. The method works for many brick systems and for mixed builds, whether you start from a kit or freebuild from a parts box.
Begin by thinking like a vehicle designer. Real trophy trucks are wide and low, with long suspension travel and high clearance. Your mini should mimic that stance. Aim for a wheelbase that is at least twice the vehicle width. Use larger wheels relative to the cab height. This creates an aggressive silhouette instantly. Sketch one view on paper or in your head. Mark where the axles will sit. Keep the center of gravity low by placing heavy pieces near the base. This simple planning step saves time later.
Next, gather and organize parts. Sorting matters. Lay out plates, bricks, specialty slopes, transparent pieces, and wheel elements in separate containers. Group colors too. A tidy tray speeds assembly and reduces frustration. If you are reproducing a known livery, set aside prints and stickerable panels. If you plan to improvise, choose two to three dominant colors. Trophy trucks often use high‑contrast palettes. Bright primary colors with black trim read well at small scale.
Create a sturdy base. Use a long rectangular plate as the main chassis. Double up plates if necessary. Reinforce the underside with cross plates or beams. Attach two square plates at the front and rear to form wider mounting points. These plates act as anchor zones for bumpers and wheel assemblies. When building with bricks that allow for studs‑up or studs‑side orientations, keep the studs aligned to make future attachments straightforward. The chassis must resist torque when you manipulate the model.
Mount the axles so wheels sit square and true. Use compatible axle pieces or bar elements. If your brick system has dedicated wheel hubs, install them where the chassis crosses the wheel openings. Wide mud‑style tires look right on this vehicle. If you lack matching tires, build faux wheels from layered round plates and attach thin rubber rings. Stagger the wheel wells so the tires protrude slightly beyond the body sides. This gives the truck an imposing track width. Test roll the model early. Adjust axle positions so the truck rolls smoothly over a flat surface.
Raise the cab on a compact pedestal. Trophy truck cabs are small and set back from the nose. Build a solid pedestal from stacked bricks or a short box. Keep the cab footprint tight. Use slope pieces to craft a streamlined windshield. Transparent bricks or panes create believable windows. If you want a roll cage effect, place thin bar elements across the cab interior. A simple two‑bar cage suggests safety hardware without excessive complexity. Position the cab so it sits behind the front bumper. This balance affects the truck’s appearance and center of gravity.
Shape the front end with intention. The nose should read as a protective bumper and grille. Use thin black plates, grill tiles, or small studded plates to imitate mesh. Add a pair of round transparent studs or glowing blocks for headlights. For a practical touch, mount light pods above the grille using clip connectors. On small models, symmetry matters. Keep the left and right sides mirror images. Small mismatches stand out at this scale.
Design a shallow bed that contrasts with the cab. Trophy trucks have a short cargo area designed more for spare parts and equipment than heavy hauling. Use larger plates for the bed floor. Attach side panels with hinge pieces if available. A hinged tailgate adds play value and realism. On budget builds, flexible connectors or slide‑in panels simulate hinges. Add tiny storage details like flat tiles or small toolboxes. Even simple bottle cap elements or round tiles can look like fuel cans when placed in the bed.
Integrate protective skid plates and underbody elements. A layered plate assembly under the nose suggests armor. Use dark plates and add a central rib for strength. This also hides mounting studs and reinforces the chassis. For a race‑ready look, craft rear bump stops and reinforced fenders. Thick bricks or rounded slopes work well around wheel arches. These parts protect the body and give the model a planted appearance.
Work on the suspension look. True suspension movement is optional. If your system supports small shocks, consider installing them. If not, fake the effect by building taller wheel struts with visible spring elements. Use stacked round bricks or spring‑shaped pieces to suggest travel. Leave a visible gap between the body and the tire tops. That gap reads as suspension travel. This visual cue gives the model a dynamic, ready‑to‑race stance.
Add scale accessories to sell the concept. Spare tires in the bed, an external roll cage, antennae, and numbered plates all enhance authenticity. Use flat tiles for sponsor decals or number stickers. A small flag mounted to the bed corner adds motion. Simple details communicate a story. Are you building a desert racer or a rock‑crawler? Choose accessories that tell that story.
Decoration raises the build’s personality. Use stickers, printed tiles, and panel pieces wisely. A bold stripe down the hood visually lowers the profile. Contrasting rocker panels emphasize width. If you have limited printed pieces, apply paper decals made from label stock. Cut them to size, then coat with a thin clear varnish for protection. Alternatively, use color blocking. Two or three colors can create a strong graphic effect without intricate prints.
Balance aesthetics with durability. Small vehicles suffer from weak clip points and thin plates. Avoid exposing fragile connections in high‑stress places. Reinforce the cab‑to‑chassis joint with a cross beam or a hidden plate. When adding lights and antennas, use clips attached to reinforced bricks. Test the model’s resilience by gently picking it up by the bumper and the bed. If anything flexes too much, rework the connection with stronger elements.
If you want limited functionality, integrate a simple drive system. For a non‑powered build, nothing beats a neat free‑rolling chassis. For powered models using small motors, place the motor low and center. Mount gears inside a reinforced cavity and keep wiring tidy. Use battery packs designed for model use and keep them accessible for swaps. Remember that even minimal drive adds weight. Balance the model accordingly by moving heavy elements toward the center.
Refine the cockpit for realism. Add a steering wheel or control stick inside the cab. A small seated figure is optional. If you add a figure, ensure the seat area is large enough and the door clearances still work. Tape or trimmed foam can pad the floor to secure figures while preventing scratches. For an authentic touch, mount a dash with printed tiles and a small instrument cluster.
Think about scale conversion. If you started with a kit that uses a particular scale, match your accessories. A miniature spare tire should be proportional to the mounted wheels. Shields, tools, and decals should all fit the scale. If parts are missing, adapt by building custom pieces from small plates and clips. Many builders create convincing substitutes by layering thin elements.
Work in phases. Start with the chassis and wheels. Then add the cab. Build the bed and details last. This staged approach lets you test and iterate. After each phase, roll and handle the truck. Look for weak spots and adjust. Photograph each stage. Images help you spot symmetry issues and inform later improvements. They also document your process for future builds.
Teach and involve others. This building process is excellent for group projects. Assign tasks like parts sorting, body assembly, and decal application. Children can help glue paper decals or sort colors. Adults can handle structural reinforcements and tricky clip work. A shared project speeds progress and strengthens results.
Troubleshoot common problems efficiently. If the truck veers when rolling, check wheel alignment and axle seating. If the body flexes, reinforce with additional plates under the central spine. If stickers peel, clean the surface with a dry cloth and press firmly. For uneven wheel heights, shim the higher axle with thin plates.
When the build is complete, display and protect it. Use a baseplate for a stable stand. If you plan to play with the truck, maintain a small repair kit with spare clips and adhesive putty. Photograph the final model under bright light. Capture front, side, and three‑quarter views. Good photos help if you want to replicate aspects later.
For reference material and downloadable instructions, consult official building instructions found on the manufacturer’s support site. Those PDFs provide step‑by‑step diagrams and parts lists. They are an excellent learning resource for the block system approach. You can use those guides to adapt pieces and techniques to your mini trophy truck. An example set of official instructions is available here: https://www.lego.com/service/help/attachments/60475-1.pdf?download=true
If you want more inspiration, check community resources and regional mini truck blogs. They often showcase creative customization and suspension ideas. A local mini truck blog collects helpful modifications and visual references for stance and trim. For additional community insight, see the MiniTruck SoCal blog.
This cohesive, block‑based approach emphasizes design, reinforcement, and detail. It produces a mini trophy truck that looks purposeful and can withstand play. Keep the model modular. That way you can upgrade the drivetrain, add lighting, or swap liveries later. Above all, iterate. Each build will teach a new trick. Apply those lessons to the next truck. Your designs will grow more convincing and more robust with every attempt.
null
null
Final thoughts
Building a mini trophy truck not only fosters creativity and problem-solving skills but also enhances your connection with the mini truck community. By exploring multiple building methods—LEGO, DIY crafts with recycled materials, or even remote-controlled versions—you can find the approach that best suits your interests and skills. Remember, the process is just as rewarding as the final product. So gather your materials, rally your family or friends, and start building your unique masterpiece today!