
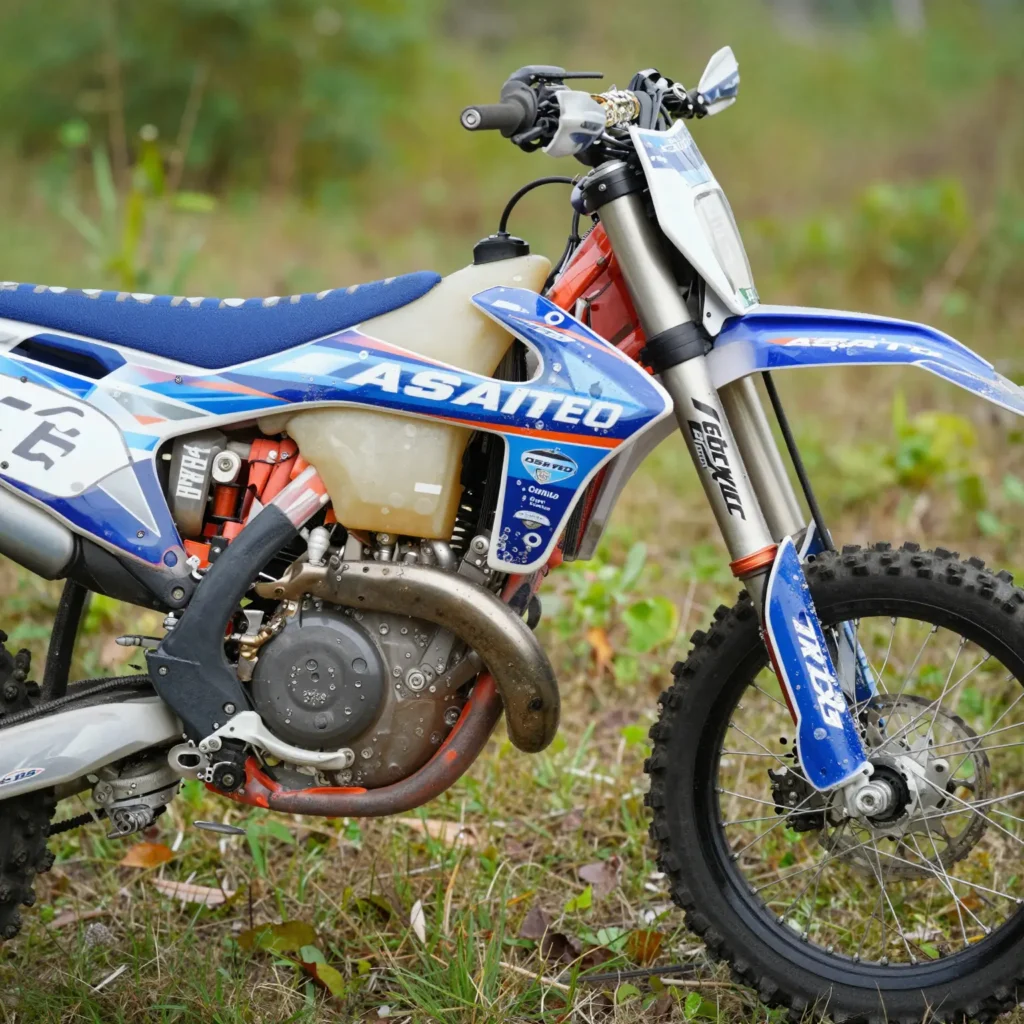
When dirt bike enthusiasts invest in custom graphics for their rides, they expect nothing short of perfection. Unfortunately, one of the most common frustrations faced by motorcycle owners and technicians alike is the presence of unsightly bubbles trapped under the surface. These bubbles not only detract from the aesthetic appeal of a bike but can also compromise the longevity of the graphics, leading to peeling or fading over time. Understanding how to efficiently remove these bubbles is crucial for maintaining the bike’s look and value. In this guide, we’ll explore effective techniques to eliminate those pesky bubbles, ensuring your dirt bike graphics remain smooth and vibrant. Whether you’re a seasoned mechanic in a repair shop or a passionate rider looking to restore your bike’s shine, this article is tailored to provide you with the insights you need. For those considering new looks for their rides, check out our range of 79 bike graphics and KTMs graphics to find inspiration.
Common Causes for Bubbles in Dirt Bike Graphics
Bubbles in dirt bike graphics can detract significantly from the overall appearance of the bike, making it look poorly maintained. Understanding the common causes of these bubbles is essential for both installation and maintenance. Here’s a detailed list of typical causes:
-
Improper Installation: One of the most frequent causes of bubbles is rushing the installation process. When installers do not take their time to carefully place and apply the graphics, air can become trapped between the vinyl and the bike’s surface. This is often due to inadequate pressure being applied with a squeegee during the process. Learn more about common mistakes to avoid when applying graphics.
-
Surface Preparation: If the surface of the bike isn’t properly cleaned and prepped before application, contaminants like dust, grease, or even moisture can lead to bubbling. It’s crucial to ensure that the surface is not only clean but also dry to prevent bubbles from forming. For effective surface preparation, refer to this installation guide.
-
Temperature Issues: Installing graphics in unsuitable temperature conditions can lead to problems, as heat can influence the adhesive properties. If the graphics are applied in hot weather, the adhesive may dry too quickly, resulting in air bubbles. Conversely, cold temperatures can prevent adhesives from sticking properly, leading to similar issues over time.
-
Aging Materials: Over time, the materials in the graphics can degrade. Aging vinyl may lose its flexibility, making it more prone to cracking and bubbling, especially if the bike is exposed to harsh weather conditions. Regular checks and timely replacement can help mitigate this issue.
-
Incorrect Alignment: If the graphics are not positioned correctly during installation, attempting to adjust them after application may create bubbles from trapped air. Careful alignment and a steady hand are fundamental during the installation process.
-
Humidity and Moisture: Excess moisture in the environment can interfere with the bond between the graphics and the surface. Installations done in humid conditions are more likely to produce bubbles, as the moisture can prevent proper adhesion.
In conclusion, taking the time to properly install and prepare your dirt bike graphics can minimize the risk of bubbles. Ensuring the right conditions and materials will keep your bike looking its best. For additional tips on how to remove existing bubbles, you can check out the helpful troubleshooting guide.
The Importance of Properly Installed Graphics on Dirt Bikes
Properly installed graphics are crucial for the longevity and aesthetic appeal of dirt bikes. When graphics are applied correctly, they not only enhance the bike’s visual appeal but also contribute significantly to its durability against the harsh conditions faced during riding.
Durability and Protection
High-quality graphics are often made from durable materials that can withstand exposure to sun, rain, dirt, and other environmental factors. For instance, graphics from reputable suppliers like OMX Graphics are engineered to endure tough riding conditions while minimizing damage. This durability ensures that the graphics maintain their vibrant colors and integrity over time, which ultimately helps to protect the underlying surface of the bike from scratches and wear.
Aesthetic Appeal
The appearance of graphics can transform a dirt bike from ordinary to extraordinary. Vibrant, well-designed graphics catch the eye and give the bike a personalized touch. According to sources like Clement Cycling, investing in high-quality graphics that are properly installed ensures visual consistency and enhances the overall look of the bike. This aesthetic enhancement is not just about looking good; it reflects the owner’s pride in their bike, making personal statements through design.
Overall Maintenance and Appearance
When graphics are installed improperly, it can lead to issues such as air bubbles, peeling, and fading. These problems not only ruin the aesthetics of the bike but can also require costly replacements and repairs. Proper installation techniques, such as smoothing out bubbles and ensuring a tight fit, help maintain a clean appearance. Practicing routine checks and caring for the graphics by keeping them clean enhances their lifespan significantly.
In conclusion, investing in high-quality graphics and ensuring they are installed correctly is vital for both durability and aesthetics. By choosing reputable brands and paying attention to installation details, motorcycle enthusiasts can keep their dirt bikes looking great while maintaining their value over time. To find quality graphics for your dirt bike, check out options available in our product categories.

Essential Tools Needed to Fix Bubbles in Dirt Bike Graphics
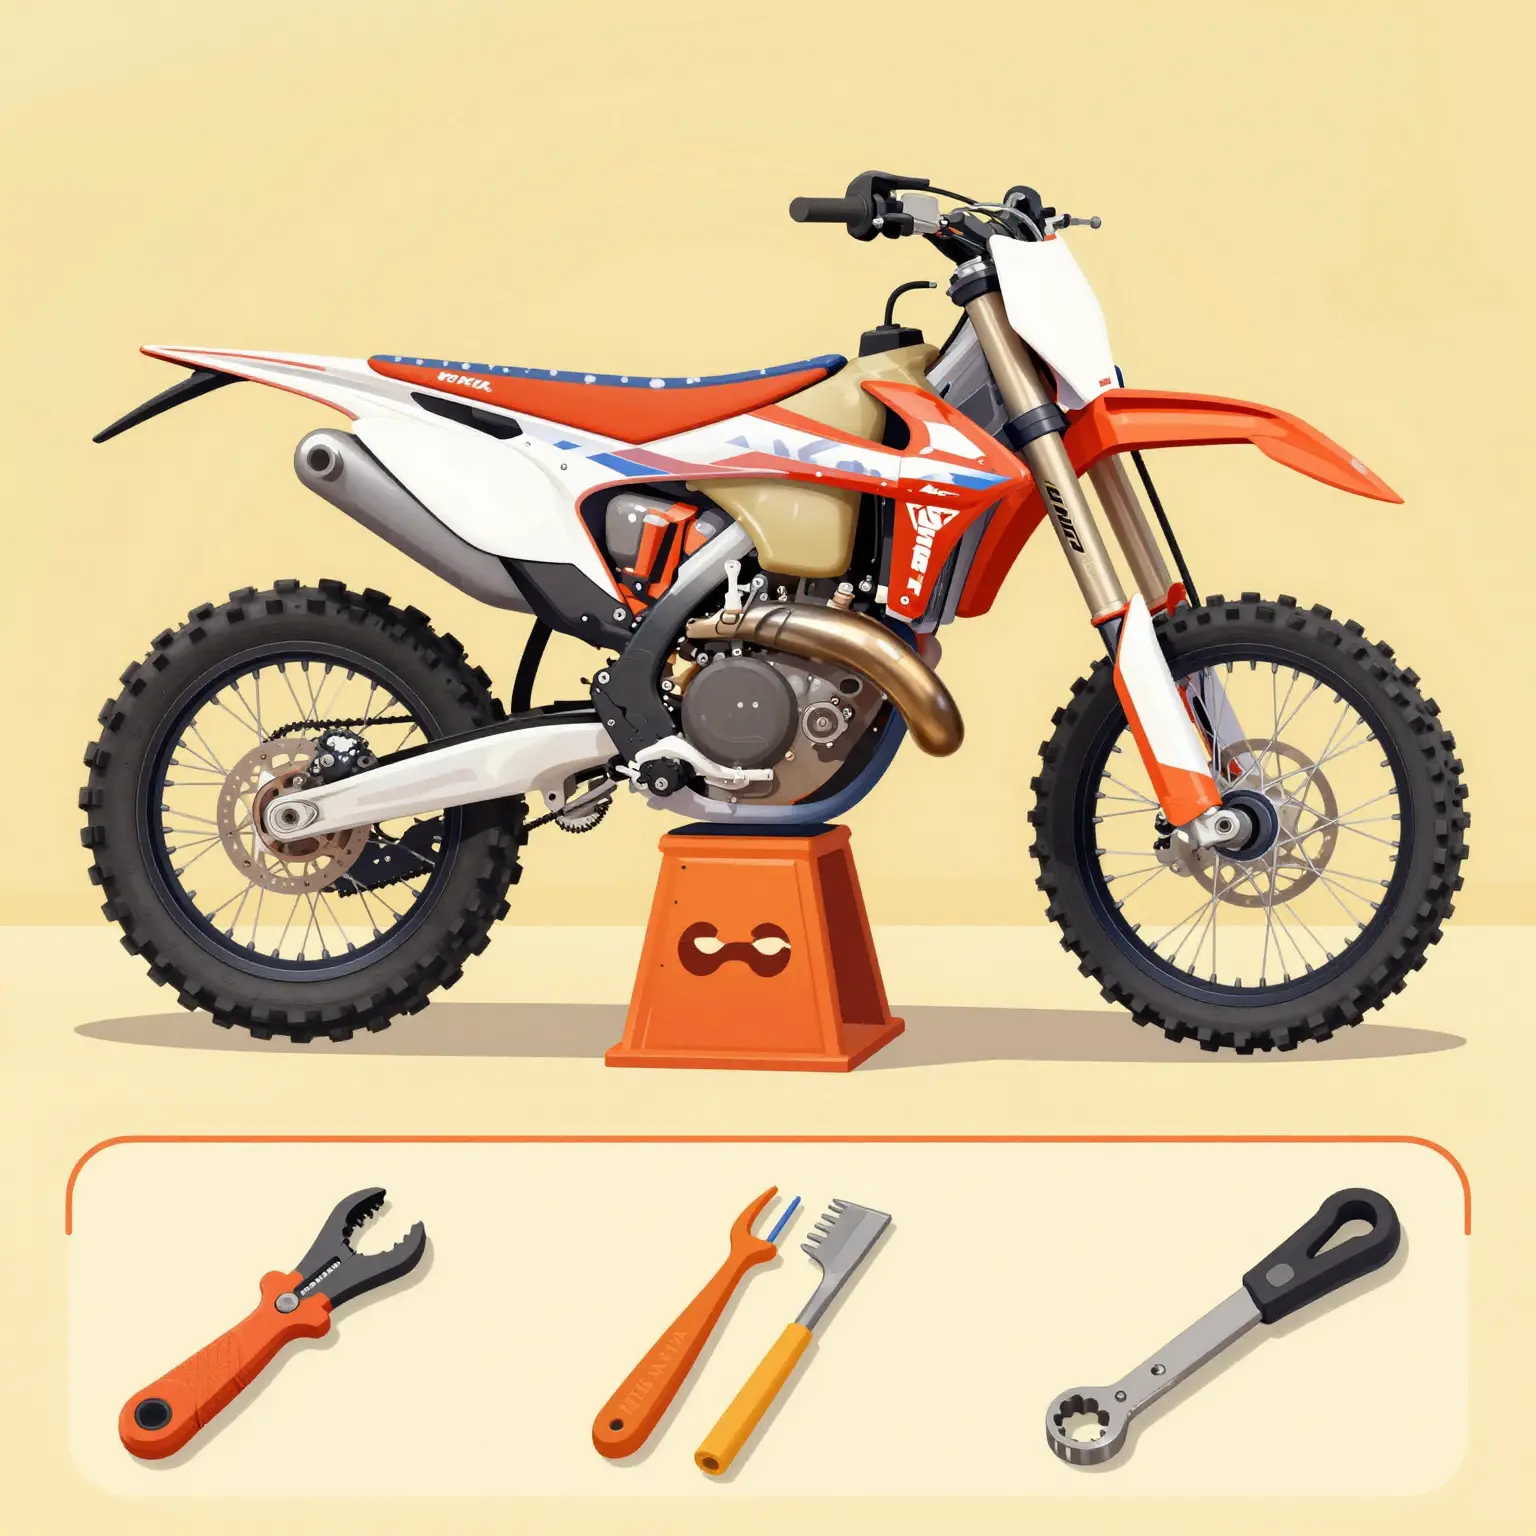
When it comes to applying dirt bike graphics, achieving a smooth finish is vital. Bubbles can be frustrating, but having the right tools at your disposal makes the process much simpler. Below is a list of essential tools and materials needed for effectively removing bubbles from dirt bike graphics, along with recommendations for specific products and their effectiveness.
Essential Tools
- Squeegee
- Description: A must-have for smoothing out bubbles. It applies even pressure, helping to push air out from underneath the graphic.
- Recommendation: Look for a felt-edged or plastic squeegee. The 3M Squeegee is a popular choice among users for its durability and effectiveness.
- Heat Gun
- Description: Used to soften the graphic material, making bubbles easier to flatten. Be careful not to overheat, as this can damage the graphics.
- Recommendation: The Wagner Control Spray Max is a great tool due to its adjustable temperature settings.
- Razor Blade
- Description: Helps trim excess material or puncture stubborn bubbles to release trapped air.
- Recommendation: A utility knife or a precision X-Acto knife is effective for this purpose, but caution is required to avoid damaging the graphics.
Effectiveness of Tools
The following table summarizes the effectiveness of the tools mentioned:
| Tool | Effectiveness Description | Source |
|---|---|---|
| Squeegee | Effective for smoothing out bubbles when used properly. | Source |
| Heat Gun | Useful for softening the material, allowing bubbles to be smoothed. | Source |
| Razor Blade | Can trim excess material but should be used cautiously to avoid damage. | Source |
Conclusion
Using the right tools can significantly enhance your ability to fix bubbles in dirt bike graphics. Whether you’re a motorcycle owner or running a repair shop, ensuring you have a quality squeegee, heat gun, and razor blade will go a long way in maintaining a professional look for your bike’s graphics. For more on graphic options, check out MotoGraphics’ collection.
Step-by-Step Guide to Removing Bubbles from Dirt Bike Graphics
Dirt bike graphics not only enhance the aesthetic appeal of your bike but also protect it from scratches and damage. However, bubbles can form during the application process, potentially ruining the appearance of your newly installed graphics. Here’s a detailed guide on effectively removing those bubbles.
Materials Required:
- Squeegee or credit card
- Heat gun or hairdryer
- Utility knife (optional)
- Clean cloth
- Water and soap solution
Step 1: Prepare Your Workspace
Ensure that you are working in a clean, dry environment to prevent dirt and debris from interfering with the graphics application. If needed, check out these graphic kits that can suit your model.
Step 2: Identify and Locate the Bubbles
Examine your graphics closely after application to find any bubbles. Pinpointing the locations will make it easier to tackle them effectively.
Step 3: Use a Squeegee or Credit Card
- Press the Bubble: Begin at the edge of the bubble and use your squeegee or a credit card to gently push the air out towards the edge.
- Start from the Center: Focus on the center of the bubble and work your way outwards. This can help in evenly distributing the pressure and seeking to release the trapped air.
Step 4: Apply Heat if Necessary
- If the bubble remains, cautiously warm the area with a heat gun or hairdryer set on low. This softens the adhesive, allowing for better manipulation.
- Distance Matters: Hold the heat source about 6-12 inches away from the graphics, moving it in a circular motion to prevent damage.
Step 5: Repeat the Squeegee Process
After applying heat, use your squeegee again to push the bubble towards the edge. The warm adhesive should make this easier, allowing excess air to escape.
Step 6: Puncture Small Bubbles (If Required)
In cases where the bubble is persistently stubborn:
- Use a Utility Knife: Puncture the bubble gently with a utility knife or pin. Be careful not to cut through the graphic itself. After puncturing, push the air out just as before.
Step 7: Clean Up Any Residue
After all bubbles are eliminated, wipe down the graphics area with a clean cloth to remove any remaining moisture or cleaning solution. This ensures a smooth finish without residue that could interfere with the graphics. For additional tips and tools, visit this resource.
Step 8: Allow to Set
- Once you’ve removed the bubbles, let the graphics sit for a few hours without use to ensure the adhesive sets properly. Avoid exposing the bike to moisture or direct sunlight during this period for best results.
Conclusion
Removing bubbles from dirt bike graphics requires patience and the right approach. Following these steps ensures a professional-looking finish, helping your dirt bike stand out on the trails. Choose quality graphics here to minimize the risk of bubbles in the future!

Comparing Bubble Removal Methods for Dirt Bike Graphics
When it comes to removing bubbles from graphics on dirt bikes, there are several methods available. Each technique has its pros and cons, so it’s essential to choose the right one based on your needs. Below is a comparative table of different bubble removal methods:
| Method | Description | Pros | Cons |
|---|---|---|---|
| Heat Gun | Uses heat to soften the vinyl, allowing bubbles to be pushed out. | – Effective for larger bubbles – Quick results |
– Risk of overheating and damaging the graphic – Requires caution in technique |
| Pin Method | Puncturing small bubbles with a pin or needle to release the air. | – Simple and requires minimal tools – Works for stubborn, small bubbles |
– Can leave marks if not done carefully – Time-consuming for larger areas |
| Squeegee | Using a smooth squeegee to push bubbles towards the edges. | – Gentle on the vinyl – Effective for many bubble sizes |
– May require repeated passes for larger bubbles – Ratios of time and precision required |
| Soap and Water | Applying a mixture of soap and water to help reposition the graphic. | – Reduces adhesive strength momentarily – Easy to fix alignment |
– Graphic may slide too much – Requires drying time after removal |
| Professional Tools | Utilizing specialized bubble removal tools or kits. | – Designed specifically for this purpose – Often offers the best results |
– Costly investment – May be overkill for minor bubbles |
Conclusion
Choosing the right bubble removal method for your dirt bike graphics is crucial to maintain their appearance and longevity. For more information on graphics for various bikes, check out the Dirt Bike Graphics Collection.
When it comes to achieving a flawless finish with dirt bike graphics, removing air bubbles is a crucial step that can greatly affect user satisfaction and the overall aesthetic of the bike. Various methods are employed by motorcycle owners and technicians to eliminate these bubbles, with many users sharing their experiences and outcomes.
Popular Bubble Removal Methods
- Heat Application:
- Many users find that using a heat gun or a hairdryer can help to soften the material, making it easier to push bubbles out. This method has received positive feedback for its effectiveness in allowing graphics to adhere better to the surface.
- User Feedback: A common sentiment shared on forums is that warm vinyl sheets are significantly easier to manipulate, resulting in fewer bubbles and a more professional look. However, caution is advised as too much heat can damage the graphics.
- Squeegee Technique:
- Using a squeegee designed for vinyl application has been highlighted as one of the most effective methods for bubble removal. Many suggest starting from the center of the graphic and working outward to push the air pockets out towards the edges.
- User Feedback: Testimonials indicate high satisfaction rates with this approach, where users report almost all air bubbles being removed successfully with a proper technique. Those who used this method indicated a success rate of about 80-90% in bubble removal.
- Pin Method:
- Some users resort to using a pin to puncture the bubble and release trapped air. This method is often combined with applying heat to smooth out the area after the bubble has been popped.
- User Feedback: While effective, many users advise against this method for larger bubbles as it can leave noticeable scars or dimples in the graphics, leading to lower satisfaction.
Comparative Satisfaction Rates
- A significant portion of users expressed high satisfaction levels when combining heat application with the squeegee technique, often reporting that they could achieve a near-perfect application.
- Those utilizing the pin method showed mixed reviews, largely dependent on the size of the bubble-less favorable for larger bubbles but fine for minor imperfections.
Resourceful Insights
Recent insights from platforms like The Girl on a Bike emphasize that proper installation techniques, including bubble removal, can lead to a more durable and aesthetically pleasing finish. Other users on forums also regard the use of high-quality materials as pivotal in preventing bubbles during the initial application.
Conclusion
Overall, the key to effective bubble removal lies in the method chosen and how well it is executed. User experiences suggest that combining the heat application with a dedicated squeegee technique generally yields the best results, leading to high satisfaction among motorcycle owners and technicians. Understanding these techniques can encourage more users to tackle any bubble issues confidently, ensuring their dirt bike graphics look their best.
For more tips on applying graphics to your dirt bike, you can visit MotoGraphics.
Conclusion: Caring for Your Dirt Bike Graphics
In conclusion, the importance of proper care and maintenance of dirt bike graphics cannot be overstated. As motorcycle owners, technicians, and enthusiasts, we know that graphics not only enhance the aesthetic appeal of our bikes but also protect the surface underneath from environmental damage and wear. Therefore, implementing a regular maintenance routine is key to preventing bubbling issues, which can be a common problem if graphics are not applied or cared for correctly.
To avoid future bubbling, consider these essential tips:
- Regular Cleaning: Clean your graphics with appropriate products that are safe for the material. Using harsh chemicals can degrade the adhesive and lead to bubbling or peeling.
- Proper Application: Always follow recommended techniques when applying new graphics. Utilizing perforated materials can help gas escape during installation and significantly reduce the risk of bubbles forming.Dirt Bike Graphics 101
- Environmental Protection: Shield your bike from extreme weather conditions and avoid prolonged exposure to sunlight, which can warp graphics over time.Learn more about maintaining graphics
By integrating these practices into your routine, you can ensure your graphics remain vibrant and bubble-free for longer, ultimately enhancing your motorcycle’s appearance and lifespan. Take action today and protect your investment in your dirt bike’s look and performance!
Expert Advice on Applying Dirt Bike Graphics
Applying graphics to dirt bikes can be a meticulous process, especially when aiming to prevent bubbles that can ruin the aesthetic and functionality of the design. Here’s a quote from a professional graphic installer:
“Make sure to thoroughly clean the surface before application, and always work with a heat gun to create the perfect adhesion. It’s about taking your time and ensuring that you position the graphics correctly to avoid air bubbles. “
To see detailed tips, you can check out this guide on avoiding bubbles during installation.
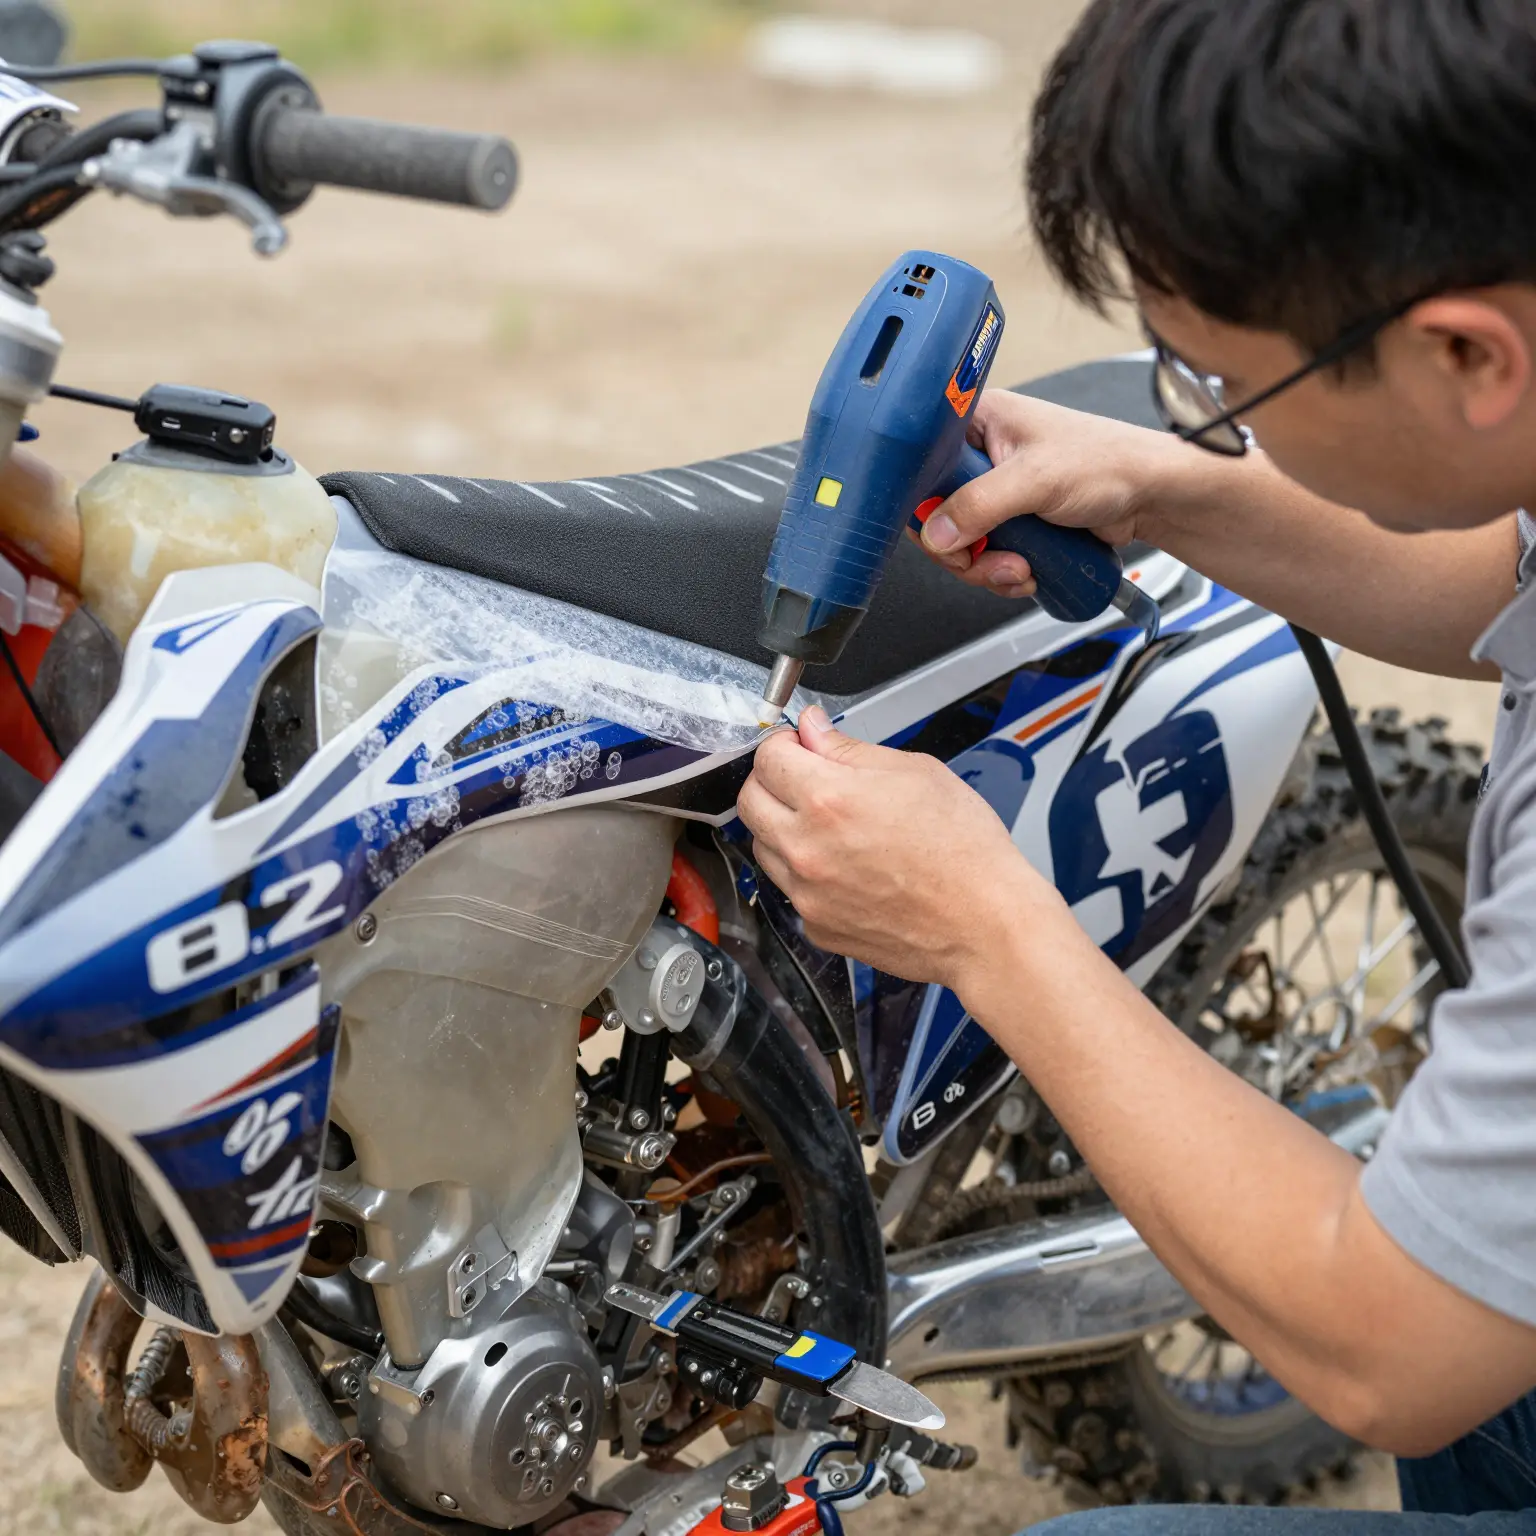
Image of a professional graphic installer applying dirt bike graphics with attention to detail.
Understanding these best practices can make a significant difference in your results and ensure your dirt bike looks its best. For those looking for high-quality graphics, explore our categories like 79 Bike Graphics or KTM Graphics.